
Spring is finally here. The snow’s melting, temperatures are climbing, and you’re ready to get back to your park model after months away. But you can’t just unlock the door and pick up where you left off.
De-winterizing correctly takes a few hours of methodical work. Do it right, and you’re enjoying your park model that same day with everything functioning perfectly. Skip steps or rush, and you’re dealing with repairs that could’ve been completely avoided.
Let’s walk through exactly how to bring your park model back to life safely and properly.
Before You Even Touch Anything
Don’t start turning valves or flipping switches yet. A few minutes of inspection prevents hours of problems.
Walk around the exterior completely. Look for any obvious damage from winter, branches that fell on the roof, animal damage to skirting, shifted foundation blocks, damaged utility lines. Winter does weird things, and you want to know about problems before you start pressurizing systems.
Check for signs of water intrusion. Look at the roof, around windows, near doors. See any staining, sagging, or obvious leak damage? Address that before you do anything else. Water damage only gets worse once you’re running systems.
Inspect underneath if you can access it. Critters love crawling under park models for winter shelter. Look for rodent nests, chewed insulation, damaged pipes, or anything obviously wrong. Better to discover this now than after you’ve filled the water system.
Open windows and air it out. Park models closed up all winter get musty. Ventilate thoroughly while you work. This also helps you notice any strange smells that might indicate mold, pest problems, or other issues.
Check your propane tanks if you have them. Make sure valves are off currently, tanks are secure, and there’s no obvious damage to lines or connections. Don’t turn propane on yet; that comes later in the process.
Verify power is on at the breaker. If you shut off main power for winter, turn it back on now. But leave individual breaker switches off for major appliances until you’re ready to test them specifically.
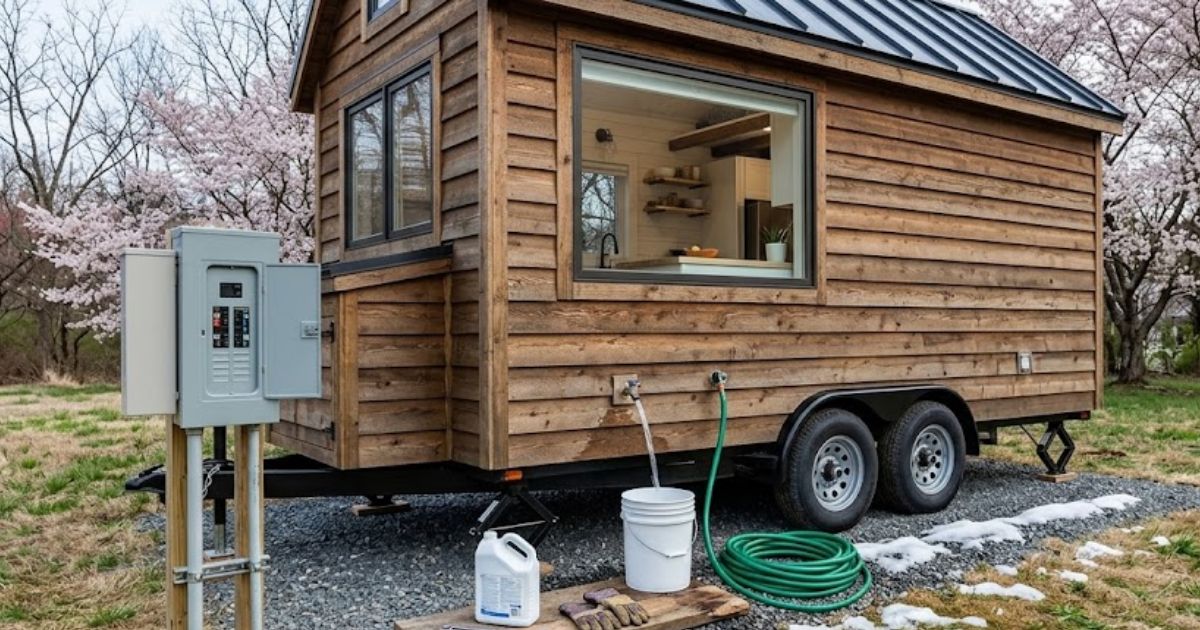
The Water System Comes First
This is the critical part where mistakes cause the most damage. Take your time here.
Locate all your drain valves. Typically you’ll have them for fresh water lines, the water heater, and possibly the water pump. Know where they all are before you start.
Remove winterizing bypass valves if installed. Many people install bypass valves on water heaters during winterization. These need to be switched back to normal operation mode before refilling. If you’re not sure whether you have these, check your winterization notes or look for three valves near the water heater.
Close all drain valves completely. Every valve you opened during winterization needs to be closed now. Double-check them all. One forgotten open valve means water pouring out somewhere you don’t want.
Close all faucets inside. Hot and cold at every sink, the shower, and any outdoor spigots. Everything should be in the off position.
Connect to your water source. Whether that’s city water or you’re filling your fresh water tank, make the connection. If using city water, attach your hose to the inlet. If filling the tank, connect appropriately and begin filling.
Turn on the water slowly. Don’t just crank the valve wide open. Bring pressure up gradually. Listen carefully for sounds of running water where it shouldn’t be. If you hear anything suspicious, shut off immediately and investigate.
Flush the antifreeze out systematically. Start with the closest faucet to your water source. Turn on cold first, let it run until water comes out clear with no pink antifreeze color. Then do hot water at that same faucet. Work your way through every faucet in the park model, kitchen, bathroom, shower, any outdoor spigots.
This takes time. You’re literally running water through every line until all traces of antifreave are gone. Don’t rush it. Antifreeze tastes terrible and you don’t want any left in your drinking water lines.
Don’t forget the toilet. Flush it several times. Pour a bucket of water in the bowl to flush again. Make sure water is running clear through the toilet system.
Check under sinks while water’s running. Watch connections for leaks. Even tiny drips now become bigger problems later. Tighten anything leaking, but don’t overtighten; you can crack fittings.
The Water Heater Needs Special Attention
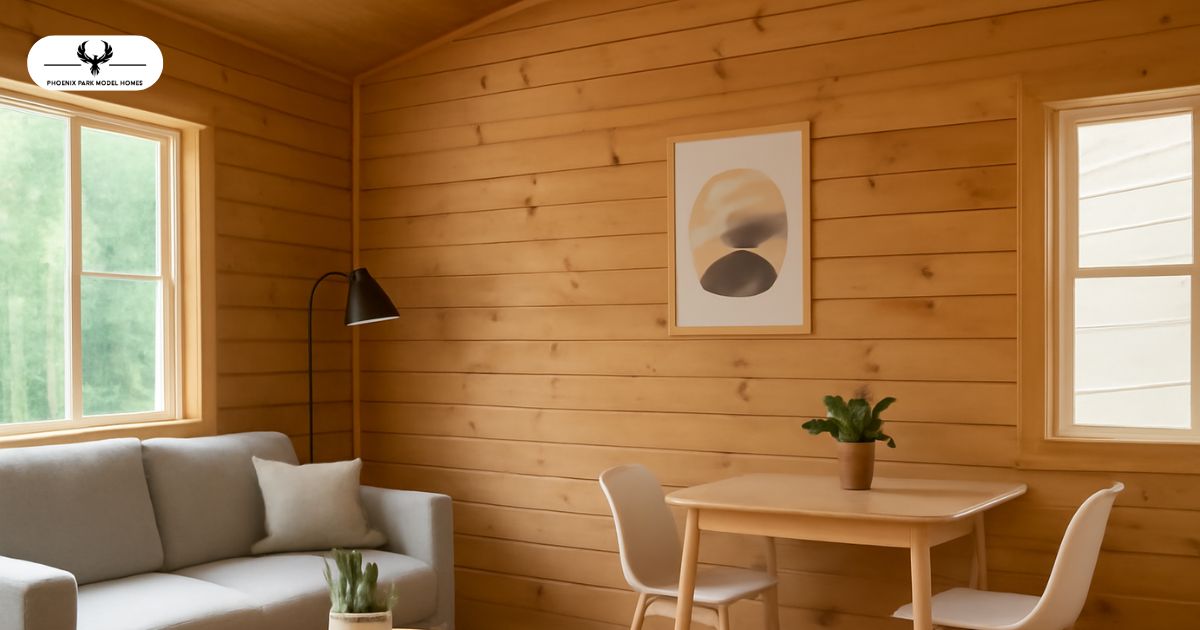
Source: https://www.dwell.com/article/modern-winter-cabin-designs-ed140478
Your water heater was drained for winter. Bringing it back online wrong damages the heating element or creates leaks.
Make sure the drain valve is closed completely. This seems obvious but forgotten drain valves cause flooding. Verify it’s actually closed.
Ensure bypass valves are in normal operation position. If you had the water heater bypassed during winterization, those valves need switching back so water can actually enter the tank.
Fill the water heater tank. Turn on a hot water faucet somewhere in the park model—this lets air escape as the tank fills. You’ll hear air sputtering out through the faucet, then eventually just water. When water runs steadily from the faucet, your tank is full. Turn the faucet off.
Check the pressure relief valve. Lift the lever slightly to make sure it operates and releases water. This valve is critical for safety. If it doesn’t work properly or water keeps running after you release it, the valve needs replacement before you use the water heater.
Inspect around the water heater for leaks. Look at all connections now that the tank has pressure. Tighten anything dripping.
Turn on the power or gas to the water heater. If it’s electric, flip the breaker. If it’s gas, make sure the pilot light instructions are followed properly. Don’t just turn on gas and hope for ignition—follow proper lighting procedures.
Wait for water to heat. Give it 30-60 minutes depending on tank size and power source. Test a hot water faucet to confirm you’re actually getting hot water before considering this step complete.
Dealing With the Sewer System
Your sewer connections need attention too, though they’re usually simpler than water.
Check all drain traps. The P-traps under sinks and the shower likely dried out over winter. Pour a cup or two of water down each drain. This refills the traps and prevents sewer gases from coming up through drains.
Reconnect to sewer if you disconnected. Make sure connections are secure and your sewer hose isn’t damaged from winter. Cracked or punctured sewer hoses create disgusting problems.
If you have a black water tank, add water and treatment. Get some water in the tank and add appropriate holding tank treatment chemicals. This starts fresh for the season.
Test drains by running water. Make sure everything drains properly. If drains are slow or backing up, you’ve got blockages to address before normal use.
Check Your Propane System
If your park model uses propane for heat, cooking, or the water heater, the system needs proper startup.
Inspect all visible propane lines. Look for damage, corrosion, or loose connections. Propane leaks are serious, if anything looks questionable, call a professional before proceeding.
Check the regulator. Make sure it’s secure and undamaged. Regulators can fail, and winter sitting doesn’t help them.
Turn on propane at the tank slowly. Open the valve gradually, not all at once. This brings pressure up in lines gently.
Test for leaks at connections. Use soapy water on all connections you can access. Bubbles indicate leaks. If you find any, shut off the propane immediately and fix the leak before using the system.
Light pilots carefully. If you have pilot lights for the furnace, water heater, or stove, follow proper lighting procedures. Don’t just turn on gas and hope; follow manufacturer instructions.
Test appliances. Once pilots are lit and connections verified, test your stove burners, check that the furnace fires up, and confirm the water heater operates on gas if that’s how it’s configured.
Appliances and Systems Check
With utilities restored, test everything else to catch problems early.
Run the refrigerator. Turn it on and give it a few hours to reach proper temperature. Check that both the refrigerator and freezer sections cool properly. If it doesn’t cool well, you might have refrigerant issues that need professional attention.
Test the furnace. Even though it’s spring, run the heat to verify it works. You might need it on cool nights, and you want to know now if there’s a problem.
Check the air conditioning. Turn it on and make sure it actually cools. AC systems that sit all winter sometimes develop issues. Better to discover this early in the season when HVAC techs aren’t slammed.
Run exhaust fans. Bathroom and kitchen fans should operate properly. These prevent moisture buildup that causes mold.
Test all lights. Flip on every light in the park model. Replace any dead bulbs. Check that exterior lights work too; they’re easy to forget but important for safety.
Verify outlets work. Plug something into every outlet. Make sure GFC hasn’t tripped and reset them if needed.
Interior Restoration
Now that systems are functioning, make the space livable again.
Deep clean everything. Dust accumulated all winter. Wipe down surfaces, clean inside cabinets, vacuum or sweep floors. Open and clean the refrigerator and freezer even if they look clean.
Check for pests. Look inside cabinets, closets, and storage areas for evidence of mice or insects. They often move in during winter. Address any infestations immediately.
Inspect soft goods. Check mattresses, pillows, cushions, and linens for any moisture, mold, or pest damage. Air everything out thoroughly.
Replace air filters. HVAC filters should be changed at the start of every season. Fresh filters improve air quality and system efficiency.
Set up for the season. Bring in any items you stored elsewhere, stock the kitchen, make beds, arrange furniture. Make it feel like home again.
Exterior Final Touches
Don’t neglect the outside while focused on interior systems.
Reattach any skirting removed for winter. This protects plumbing underneath and improves appearance.
Clean gutters and downspouts. Winter debris accumulated. Clear it out to prevent water damage.
Check and clean the roof. Remove any branches, leaves, or debris. Look for loose or damaged shingles or seams.
Test outdoor outlets and lights. These get forgotten but matter for evening enjoyment.
Set up outdoor furniture. Bring out chairs, tables, grills—whatever makes your outdoor space functional.
Inspect decks and porches. Look for winter damage, loose boards, or areas needing repair or staining.
Common De-Winterization Mistakes
Learn from others’ errors:
Rushing the water system. This is where most damage happens. Take your time flushing antifreeze, checking for leaks, and confirming everything works before walking away.
Forgetting to refill drain traps. Then wondering why your park model smells like sewer. Pour water down every drain.
Turning on the water heater before filling it. Running heating elements dry destroys them instantly. Always fill completely before applying power or lighting gas.
Not checking for leaks thoroughly. A tiny drip you ignore becomes water damage that costs thousands. Investigate every suspicious wet spot.
Skipping the exterior inspection. Then discovering roof damage only after rain floods your interior.
Making Next Year Easier
As you de-winterize, take notes on what you did and any issues you found. This helps next fall’s winterization go smoother and reminds you of problem areas to watch.
Take photos of valve positions, bypass configurations, and proper setups. Future you will appreciate visual references when you can’t remember which way something goes.
Create a checklist specific to your park model. Every unit is slightly different. Customize a list based on your specific systems and layout.
You’re Ready for the Season
Proper de-winterization takes a few focused hours, but it sets you up for months of trouble-free enjoyment. Systems work properly, nothing’s damaged, and you can relax knowing your park model is ready for whatever the season brings.
The alternative—rushing through it and hoping for the best—creates stress, frustration, and expensive repairs that ruin your season before it starts.
Take the time. Do it right. Then settle in and enjoy your park model knowing everything’s functioning exactly as it should.
If you’re preparing for your first season or want to make sure you’re approaching things correctly, understanding your specific park model’s systems helps enormously. Different manufacturers and models have slight variations in how systems are configured. When you’re ready to explore what features and configurations work best for your situation, check out the different options available. And if you have questions about maintaining or caring for your park model throughout the seasons, reach out anytime – we’re always happy to help ensure you get the most enjoyment from your investment.